If you are looking for a comprehensive resource/ post on this topic which gives you complete information, alternatives, and comparisons then go here:
http://www.nettally.com/palmk/Rubber_Stamp_Carving_Tips.html
If you are looking for a "
this is what I do/what a reccommend for beginners" then this post is for you.
Part 1 will cover assembling your materials
Part 2 will cover designing your image and transfering it to your carving material
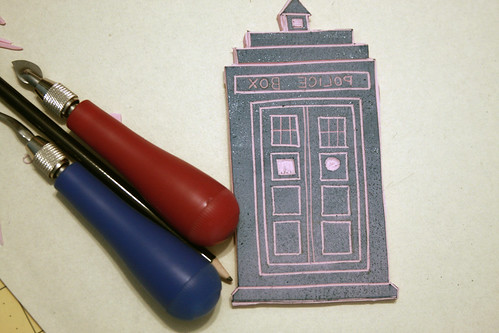
Part 3 will cover carving your design
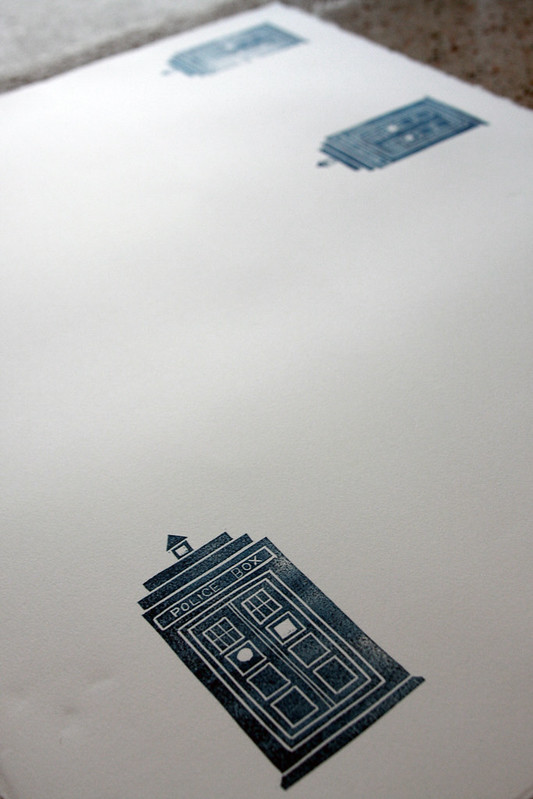
Part 4 will cover stamping your image
1. What you need to get started
a. Pencil
b. Tracing paper
c. Carving tool
d. Carving material
e. Self healing mat
d. Paper/fabric
e. Ink
f. A piece of wood (optional)
g. Stamp adhesive (optional)
2. Where to get it/ what I reccommend/ why I reccommend it: You can buy
a kit here from Amazon if you want to minimize your expenses but it doesn't contain everything I recommend. What I
recommend is as follows:
a. Pencil- I prefer a graphite pencil as it will leave a darker image than a #2 when you transfer to or draw on your carving material. You can get this at any art or craft supply store; I bought
this kit (Prismacolor Scholar Graphite Drawing Pencils) from Dick Blicks- once I realized the #2 wasn't ideal- in order to try out different pencils.
b. Tracing paper- you can get this at any art or craft supply store; I use this
one (
Strathmore 300 Series Tracing Paper Pad) and bought it at Joann's.
c. Carving tool- you can get this at any art or craft supply store; I use this
one (Speedball Lino Set No. 2) and bought it from Dick Blick.
d. Carving material- I use this
one (Speedball Speedy Carve Blocks) and buy it from Dick Blick.
e. Self healing mat- I use this
one (
Fiskars 8-Inch by 8-Inch Self Healing Rotating Cutting Mat) and bought it from Joann's
d. Paper/fabric- use whatever floats your boat! I find that, for fabric, cotton and linen work best and white or natural color fabric makes for a more vibrant image.
e. Ink- you can buy ink pads that work on paper at any craft store; I have several and prefer none. For fabric I use
VersaCraft and buy it from Amazon (best price I've found although you can sometimes find it in an etsy destash sale). I like VersaCraft because it is easy to use, readily available, and heat sets quickly. There are other options out there which will give you more consistent results but- in my experience- are expensive, messy, and require several days to set. Please let me know in comments if you know of any other viable alternatives.
f. A piece of wood or acrylic block- the wood needs to be at least as large as your stamp. I have scrap wood a friend cut for me specifically for my stamping. If you aren't going to mount your stamp (and there are pros/cons to mounting) then you could use a book instead of wood.
g.
Stamp adhesive- only if you are going to mount the stamp.
Again, the link I included at the beginning of this post is a great resource but- that stated- when I first started to carve stamps I felt a little overwhelmed by all the information provided on the web and felt like- as a beginner- I had too many options (types of carving materials, types of carving tools, types of transfer methods).
Next up (in October):
Part 2- Designing your image and transfering it to your carving material